Do you want to learn how to enclose a bodice with a waist elastic? I’ll show you how!
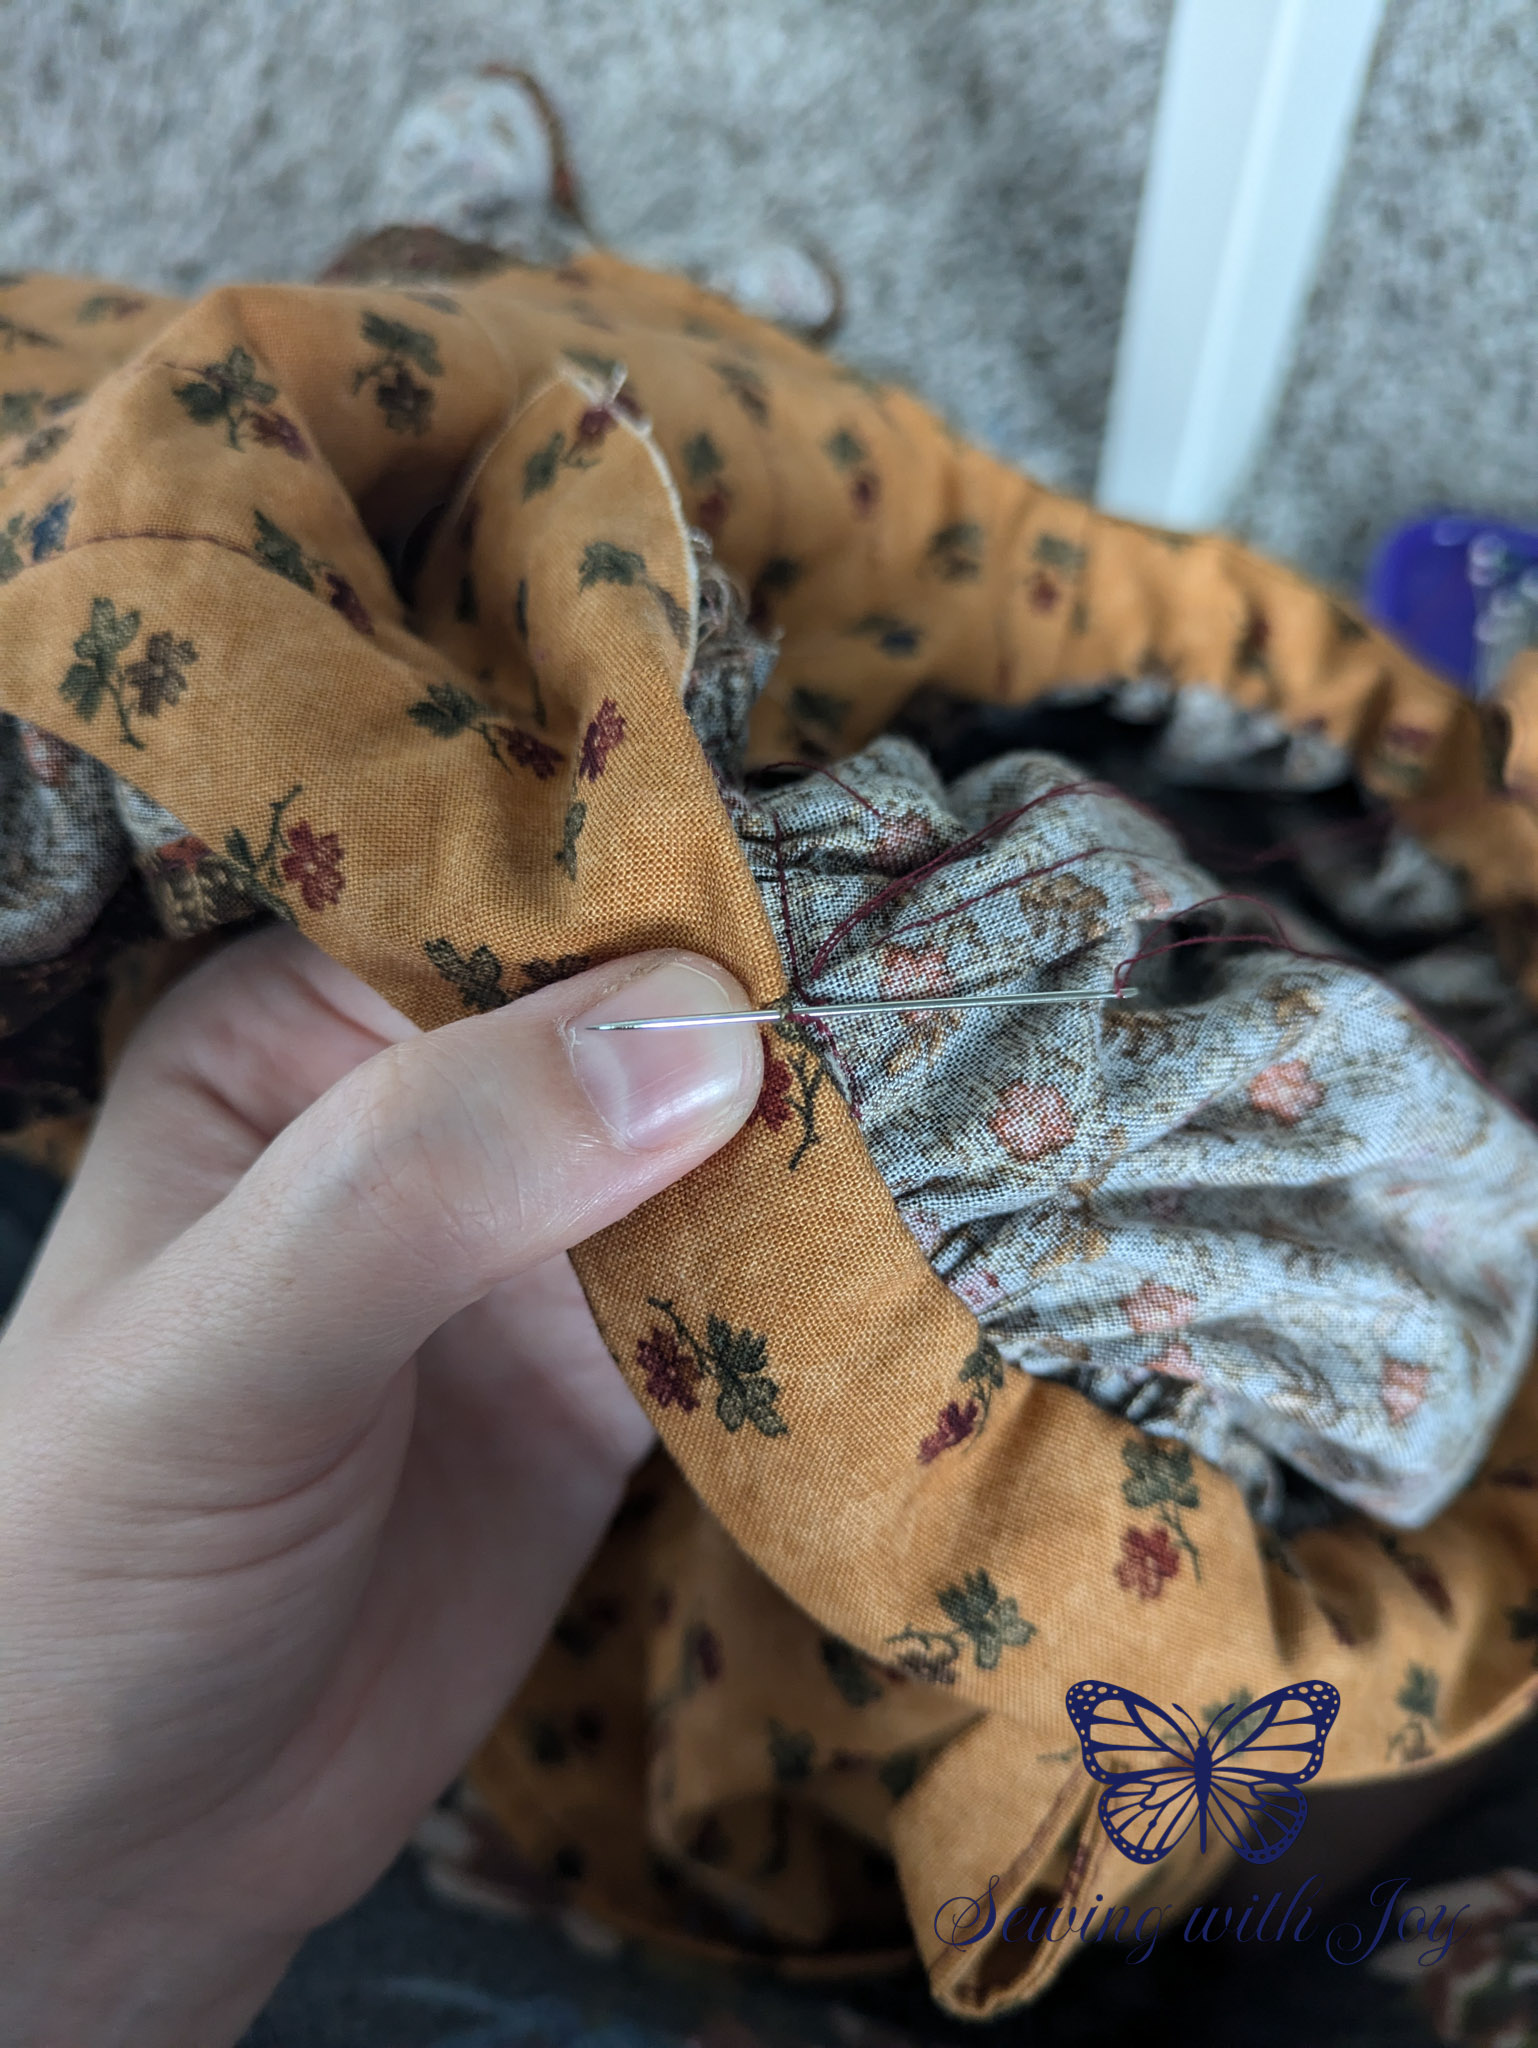
I really love having the inside of a garment as nice as the outside by enclosing the bodice. Enclosing a bodice has many benefits like: it looks really nice, it’s more durable, and it is more comfortable for the wearer. With a simple bodice, the skirt is sewn to the main fabric and then the lining fold over and top stitched down or hand sewn. When there is elastic at the waist, the main fabric and lining are sewn together. Consequently, the traditional method of enclosing a bodice cannot be used. When I first ran into this problem, it really stumped me. So, I figured out how to change the order of construction and still get a beautiful, enclosed waist seam.
I’m going to be using Little Lizard King Bellevue for this tutorial. The Bellevue has the added challenge of straps that are sewn to both the main and lining layer, so I’ll show how I change that too. This technique can be used on most bodices with elastic at the waist seem.
I have links to relevant products I recommend. When possible, I use affiliate links that earn me a commission at no extra cost to you. As an Amazon Associate, I earn from qualifying purchases. Thank you for your support.
Adjusting the Straps for an Enclosed Bodice
Follow the instructions until you are ready to attach the straps to the bodice. In the original instructions for the Bellevue, the straps are top stitched to both the main and lining. For enclosing, we need to alter these instructions a bit.
I start by using washable tape to keep the straps in place. My favorite kind is Dritz Wash Away Wonder Tape. I put it on both sides of the strap where it connects to the bodice.
The first 1 1/2 inches need to be sewn to just the main bodice fabric and not the lining. Separate the lining from the main fabric and topstitch the strap down along both edges the first 1 1/2 inches from the raw edge. Then put the lining and main together and topstitch the rest of the strap to both layers.
This is what it should look like on the inside with the first 1 1/2 inch separate. From the front, the top stitching is continuous around the whole strap.